Grazing boards have become super popular lately, and for good reason! Not only do they offer lots of options for hungry guests, but being able to set-and-forget these boards makes them a very easy option for the host/cook!
There are many types of grazing boards to choose from. Some are themed based on the holiday they’re celebrating, set up in shapes like Santa or a football. Others are themed based on the meal for which they’re intended, like a pancake and waffle board for brunch. Traditional boards tend to be themed based on the types of food they contain, like cheese or charcuterie. These are the boards I recommend to set up for your Thanksgiving and/or Christmas guests to nibble on while they wait for the main event.
If you’ve never set up a cheese board, don’t let it intimidate you! Follow these few tips to make your next cheese board easy on yourself and unforgettable for your guests!
Hardware
When choosing a board to serve on, I believe in choosing whatever you find beautiful. Just make sure it’s food safe and not coated in anything toxic. Look for wooden cutting boards, large serving platters, or even a large piece of food-safe slate.
I also recommend investing in a set of cheese knives. Each cheese should get its own knife so flavors don’t mix. If you don’t have cheese knives on hand, you can substitute butter knives. However, specialized cheese knives have specific edges meant for the different types of cheese and can make it easier on guests to serve themselves. A basic set can be found at most housewares stores for under $20.
Which cheeses to choose
- 1 hard cheese, like Gruyere or cheddar (personal recommendation: Cotswold Cheddar)
- 1 soft cheese, like brie, Camembert, or Chevre (personal recommendation: Dill Havarti)
- 1 aged cheese, like Manchego or Gouda
- 1 blue cheese, like Roquefort or Gorgonzola *
- 1 goat cheese, choose between plain or herbed *
* If you dislike goat or blue cheeses, substitute a spreadable cheese, like Boursin.
In addition to cheese
- Something to serve everything on, like crackers, sliced baguette, crostini, pretzels, pita chips, or breadsticks
- Meats, like prosciutto, pancetta, or salami (substitute with turkey salami if you don’t eat pork)
- Nuts, like peanuts, almonds, pistachios, or walnuts
- Fruits, like dried apricots, figs, grapes, or pomegranate arils
- Veggies, like celery sticks, mini sweet peppers, or sliced cucumbers
- Something salty, like olives, gherkins, or artichoke hearts
- Something sweet, like jam, honey, or peanut butter
- Something spreadable, like hummus, chutney, or mustard

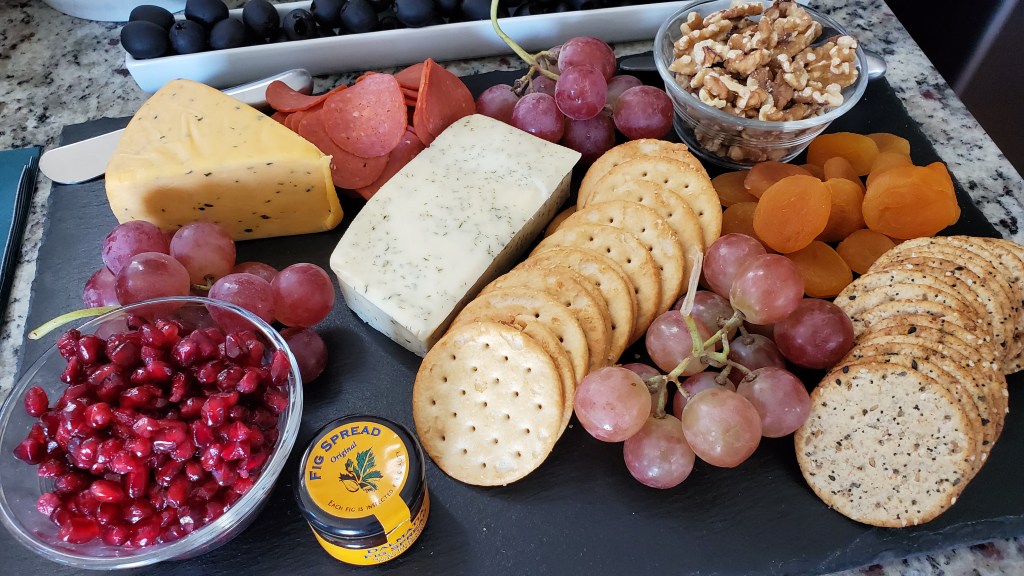
Setting up your board
I always set cheeses out first. They are the stars, after all! Spread them out evenly across your board, and make sure to leave room for people to cut chunks off. Once those are placed, add anything you’re using a bowl to serve, like nuts or spreads. Fill in the remainder of the board with the largest items first. Once those are down, fill in the gaps with the smaller items. And remember, there are no rules in building a grazing board! Just lay things as you find them attractive!
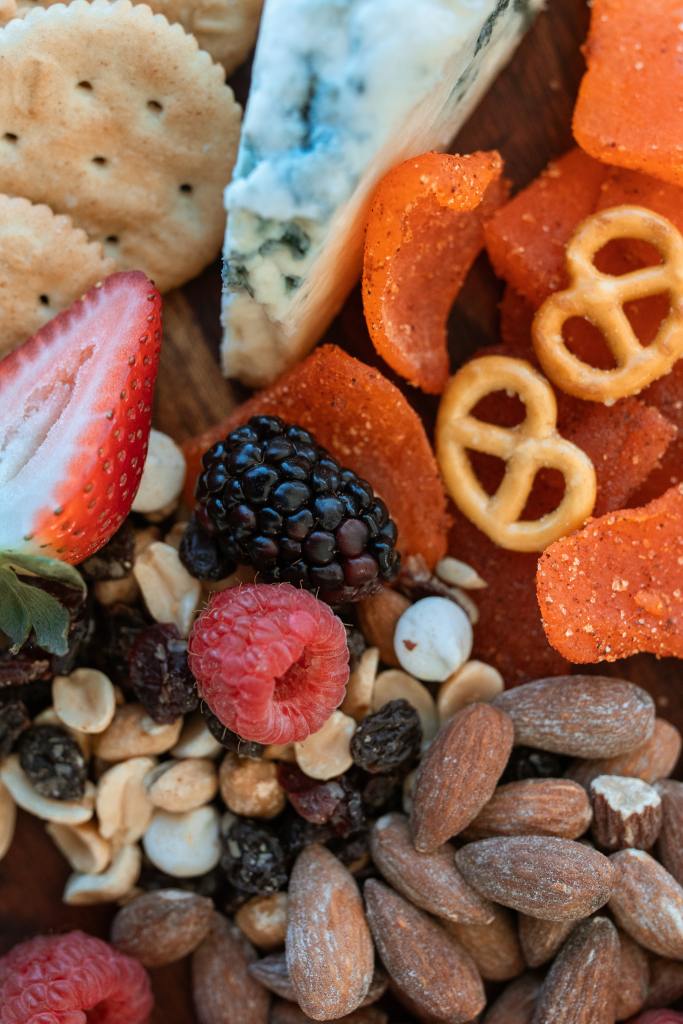
Embellishments
Decorating is not necessary to serving a cheese board. You likely won’t have a lot of leftover room to fill anyway. However, using a few food-related items to embellish your board can take it from good to great! If you need to fill in holes or add a special something, nestle whole fruits or veggies, sprigs of fresh herbs, or chunks of honeycomb to add those finishing touches.
Serving tips
Did you know cheeses need to relax? They taste better when you let them temper, or warm up to room temperature, for 30-40 minutes before consuming them. Some even call for a minimum of one hour. If that makes you nervous, rest assured. Soft cheeses can stay out at room temperature for 2-4 hours, and hard cheeses are fine for up to 8 hours. If you need to leave the board out longer (or for those skeptical minds who simply can’t leave cheese out that long), consider placing a party cooling mat, like this one, underneath.
Don’t slice all your cheese, as it will be easier to store any leftover cheese if it hasn’t been sliced. However, I usually cut 2-3 slices of each chunk of cheese to get it started. It also discourages guests from cheese board violations, like spooning out the center of a wheel of brie.

Love a beautiful cheese board!
LikeLiked by 1 person
Pingback: Salami Roses | Mainstay Kitchen & Home
Pingback: Charcuterie Bento Box Lunch | Mainstay Kitchen & Home