Confession: I married an Eggo waffle addict. He has eaten Eggos every morning pretty much since I’ve known him. And in my ongoing attempt to clean up all our household staples, I was determined to leave no waffle unturned! Pun intended.
My criteria was simple: whole grains, high protein, low processed sugar, and still delicious! This recipe is my combination of a healthy waffle recipe from A Mindful Mom with some tasty waffle tips from Tieghan Gerard at Half Baked Harvest. It has been so well received, my husband left the last remaining Eggos in the freezer in favor of these. He says he’s ruined for convenience!
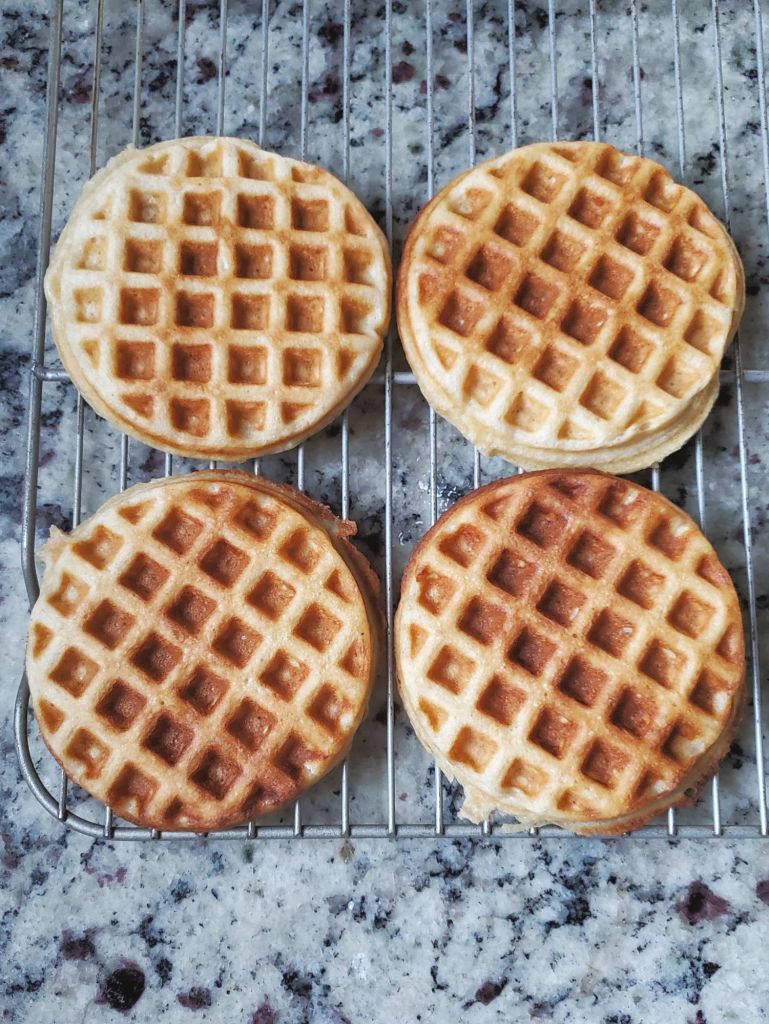
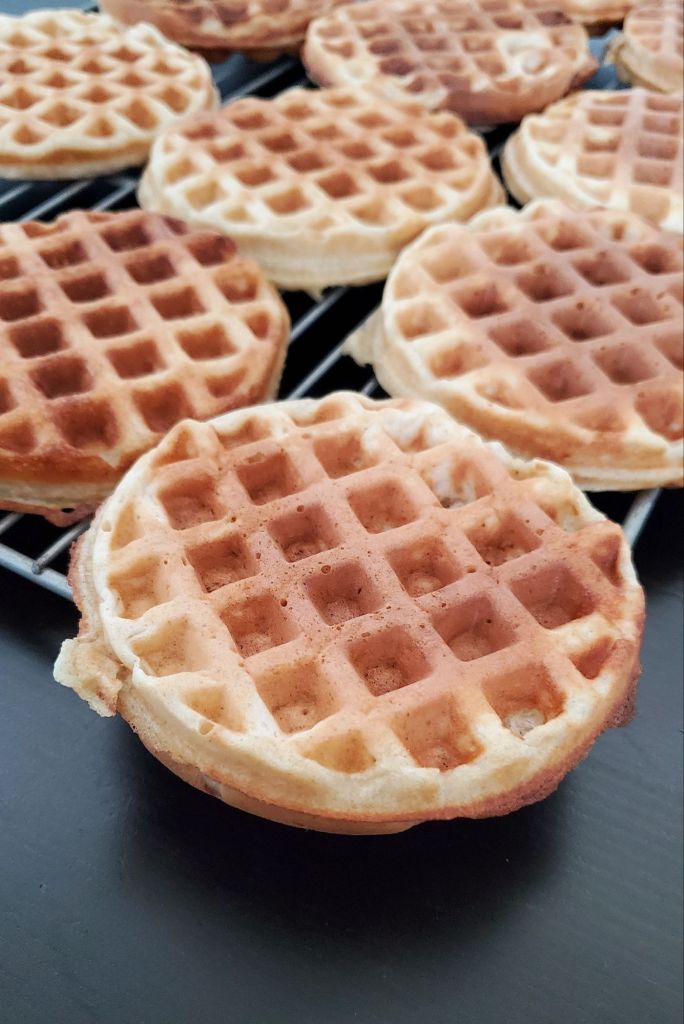
I use the Dash Multi Mini Waffle Maker, as it makes four of the familiar Eggo-sized waffles at a time, so I can load up my freezer with 24-26 of these little beauties in a single batch. However, you can use this batter in any waffle iron, big or small. Just be sure to heed the batter amounts and bake times as recommended by your iron’s manufacturer.
This recipe can be easily adjusted to several dietary requirements: swapping out 1-1 gluten free flour and/or non-dairy milk substitute well. And while I use melted butter for flavor, feel free to swap out melted coconut oil to keep the fats healthier.

Healthier Buttermilk Freezer Waffles
(Original recipe: A Mindful Mom)
3 C whole wheat flour (I prefer Janie’s Mill High Protein flour)
pinch of salt
1 tsp baking soda
2-1/2 tsp baking powder
1/2 tsp ground cinnamon
1/2 C melted butter, cooled (you can substitute melted coconut oil, as well)
4 large eggs
3-1/2 C buttermilk
1 TBSP honey
1 tsp vanilla extract
In a large bowl, whisk together the flour, salt, baking soda, baking powder, and cinnamon until well combined.
In a separate bowl, whisk together the butter, eggs, buttermilk, honey, and vanilla until well combined.
Add the wet ingredients to the dry ingredients and stir until thoroughly incorporated, being mindful to not overmix the batter. This will prevent your waffles from getting tough.
Set the batter aside to rest for 10 minutes. Meanwhile, preheat your waffle iron according the manufacturer’s instructions. Finally, set up 2 half sheet-sized cooling racks for the finished waffles.
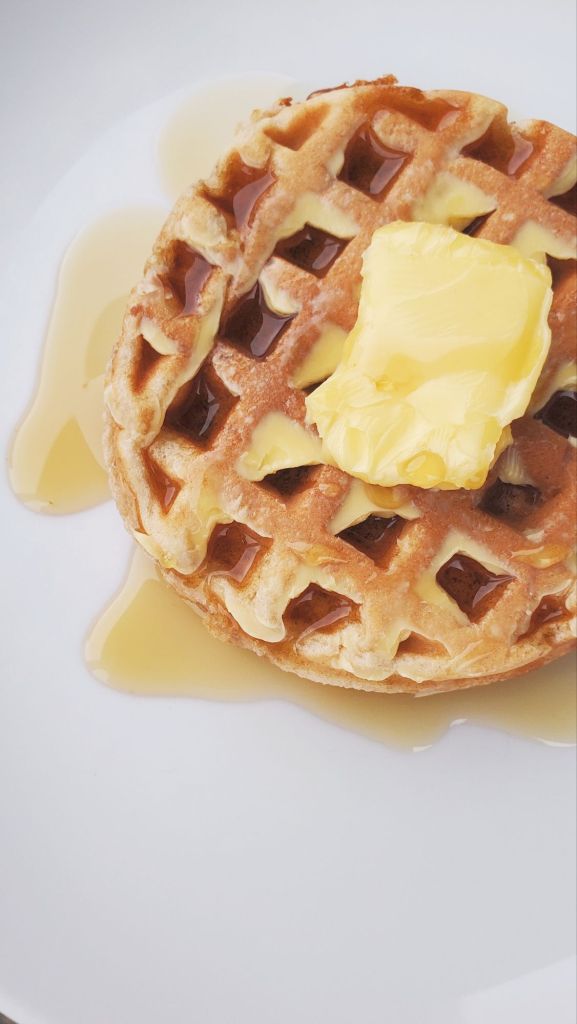
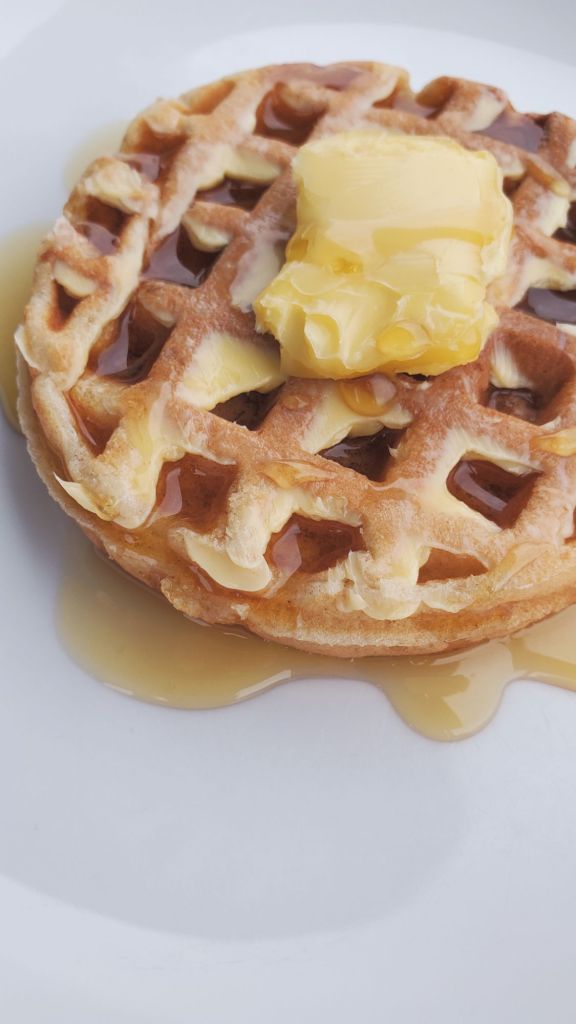
Once your waffle iron is hot, brush or spray each waffle plate with oil or butter. Ladle the amount of batter called for per your manufacturer onto the center of each grid on the waffle iron. Close the waffle maker and cook according to the manufacturer’s instructions. For reference, my Dash frozen waffle-sized iron took 1/3 cup of batter per waffle and cooked through in 2:45.
Once the waffles are finished cooking, remove them from the waffle maker and transfer them to the prepared cooling racks. TIP: use a silicone spatula or wooden/plastic tongs to prevent scratching the non-stick coating.
If you’re planning to serve the waffles immediately, you can keep them warm between batches by holding them on a baking sheet with a baking rack in an oven heated to 200F.
To prepare them from frozen, simply pop them in the freezer, just like your favorite freezer waffles at the grocery store.

Pingback: Healthier Buttermilk Freezer Waffles – Mainstay Kitchen & Home | My Meals are on Wheels