Until I attempted this recipe, making homemade bread intimidated me. A LOT. I had visions of Paul Hollywood’s steely gaze staring me down because he knew I had no idea what I was doing.
And then I found this recipe!

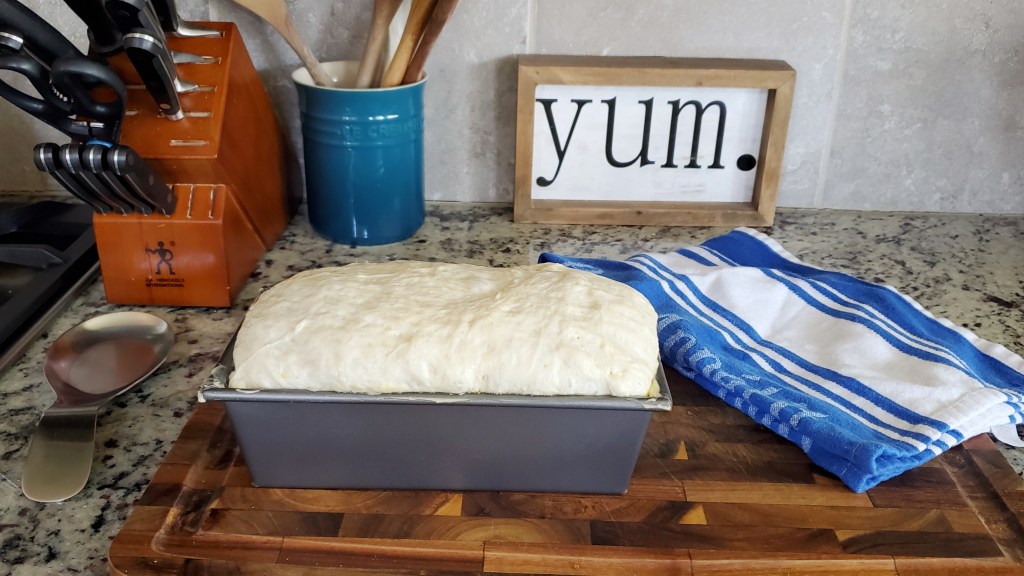
Peasant bread is defined by its simplicity. One bowl. One spoon. Simple ingredients. No kneading. But don’t let that fool you; this bread is phenomenal! The crust is crispy, the inside is soft, and the taste is divine, especially when you compare it to how easy it is to make. The only challenge is the time commitment for proving the dough twice, but even that is hands-off.
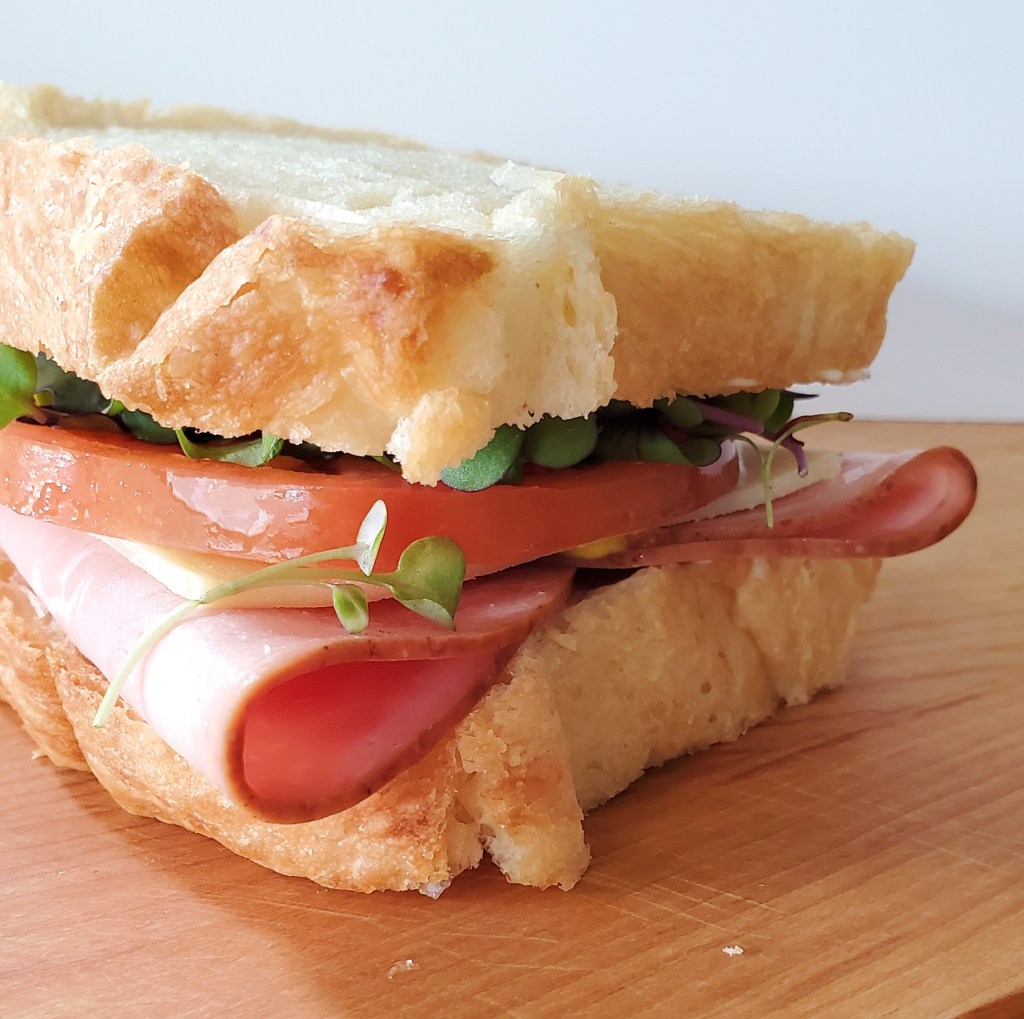
I was warned that once I started making homemade bread, I wouldn’t be able to go back. This recipe has convinced me to become a homemade bread baker. It works beautifully for making sandwiches, accompanying a bowl of soup or salad, or just toasted up with butter and jam. I plan to make this loaf regularly, and I’m encouraged to tackle other bread recipes soon, as well. If baking bread scares you like it scared me, this one is for you. And if you’re an experienced bread baker, this quick and simple loaf is a fantastic addition to your repertoire.

TIP: The original recipe calls for either bread or all-purpose flour, but we recommend using bread flour. The texture is divine! (Click the link for the original recipe for tips on using whole wheat flour.)
TIP: The original recipe gives instructions for using instant yeast or active-dry yeast, depending on what you have on hand. But if you wish to keep this recipe as simple as possible, get instant yeast.
TIP: If you run into any issues, click on Cup of Jo’s original recipe link below. She troubleshoots issues like hydration, and even includes tips for freezing. YES, these loaves are freezable!
PROVING TIP: One of my challenges was finding a warm place to prove dough. The best temperature for proving is between 75-95F, but our home is typically around 68F. I’ve tried several tricks in the past, such as in the oven with the light on and even using a spare closet with a heater. None of these worked very well.
And then I found the perfect hack! You still use your cold oven, but instead of relying on the light for warmth (which won’t work if your bulb is an LED), you simply add a dish of boiling water to the shelf below. Close the oven door and leave it alone. It works beautifully!


Crusty Peasant Sandwich Bread
(Original recipe: Cup of Jo)
3 C (384 g) bread or all-purpose flour (I recommend bread flour for texture)
1-1/2 tsp (5 g) instant yeast* (see notes below if using active-dry yeast)
1-1/2 tsp (7 g) sugar
1-1/2 tsp (5 g) kosher salt
1-1/2 C (340 g) lukewarm water
Softened butter
1 TBSP olive oil
In a large bowl, whisk together the flour, yeast, sugar and salt. Add the lukewarm water. (*See notes below if using active-dry yeast.)
Using a spatula, stir to combine until you have a dough ball (it will be sticky). Cover the bowl with a tea towel and place in a warm spot to rise until the dough doubles, about 2 hours. (I recommend putting it in your cold oven with a pan of boiling water on the rack below.)
Meanwhile, liberally grease a 9×5-inch or 8.5×4.5-inch loaf pan with the softened butter.
After your dough has doubled, deflate it using two forks or a flexible dough scraper. Pour in the olive oil and turn to coat the whole dough ball evenly in the oil. Transfer the dough to the prepared pan. Let rise on the counter until the dough crowns the rim of the pan, about 40-60 minutes, depending on the temperature of your kitchen.
Meanwhile, preheat your oven to 375F.
Once your dough is ready, put the pan in the preheated oven and bake for 45 minutes. Once baked, turn your loaf out onto a cooling rack and let cool for 30 minutes before slicing and enjoy!
*If using active-dry yeast, sprinkle it over the lukewarm water and add the sugar. Let stand for 15-20 minutes or until the yeast gets foamy. Then proceed with the recipe.

That’s the advantage of homemade bread; you know what goes into it and you don’t get any of the food additives they put into store-bought counterparts. 🍞
LikeLike
Time is your friend, when it comes to bread-making. Broadly, the lower the temperature, the better the bread – better taste and texture. Many home bakers deliberately retard dough in the fridge overnight, before baking off in the morning, and typical room temperatures of a heated house are perfectly fine for straightforward daily bread recipes. The only consequence is that the yeast will work slightly more slowly (a good thing) and you should allow a little extra time (no time of yours, as long as you can be around at the beginning and the end).
Good luck with your baking. My own blog has lots of bread-making recipes, from very straightforward to more complex. You should try a selection of different bakes: each will help you build confidence in handling yeasted doughs, and don’t overlook the whole family of unleavened flatbreads – so useful when time is short.
LikeLike
Great tips, Clive. Thank you for sharing!
LikeLike
Pingback: Easy Braided Challah Bread | Mainstay Kitchen & Home