My husband has a problem; a Dairy Queen Blizzard addiction problem. There’s a DQ near our home, along his commute route, and the amount of money we’ve given them since we moved here is astronomical.
So I challenged myself to learn to make Blizzards at home. Come to find out, if you have a stand mixer, it’s even simpler than I thought it would be! Less money, cleaner ingredients, and more freedom to play with flavors. Why didn’t I think of this idea sooner?

Ideas for treats to mix in: M&Ms, Reese’s Pieces or Cups, Oreos, Butterfinger, brownie bits, butterscotch chips, frozen berries, coconut, granola, nuts, and cookies. Toss in some spices like cinnamon or star anise for even more flavor!
Huge thanks to The Bakermama, another self-confessed Blizzardaholic, for teaching me this worthwhile, money saving trick!

Homemade Dairy Queen Blizzards
(Original recipe: Bakermama)
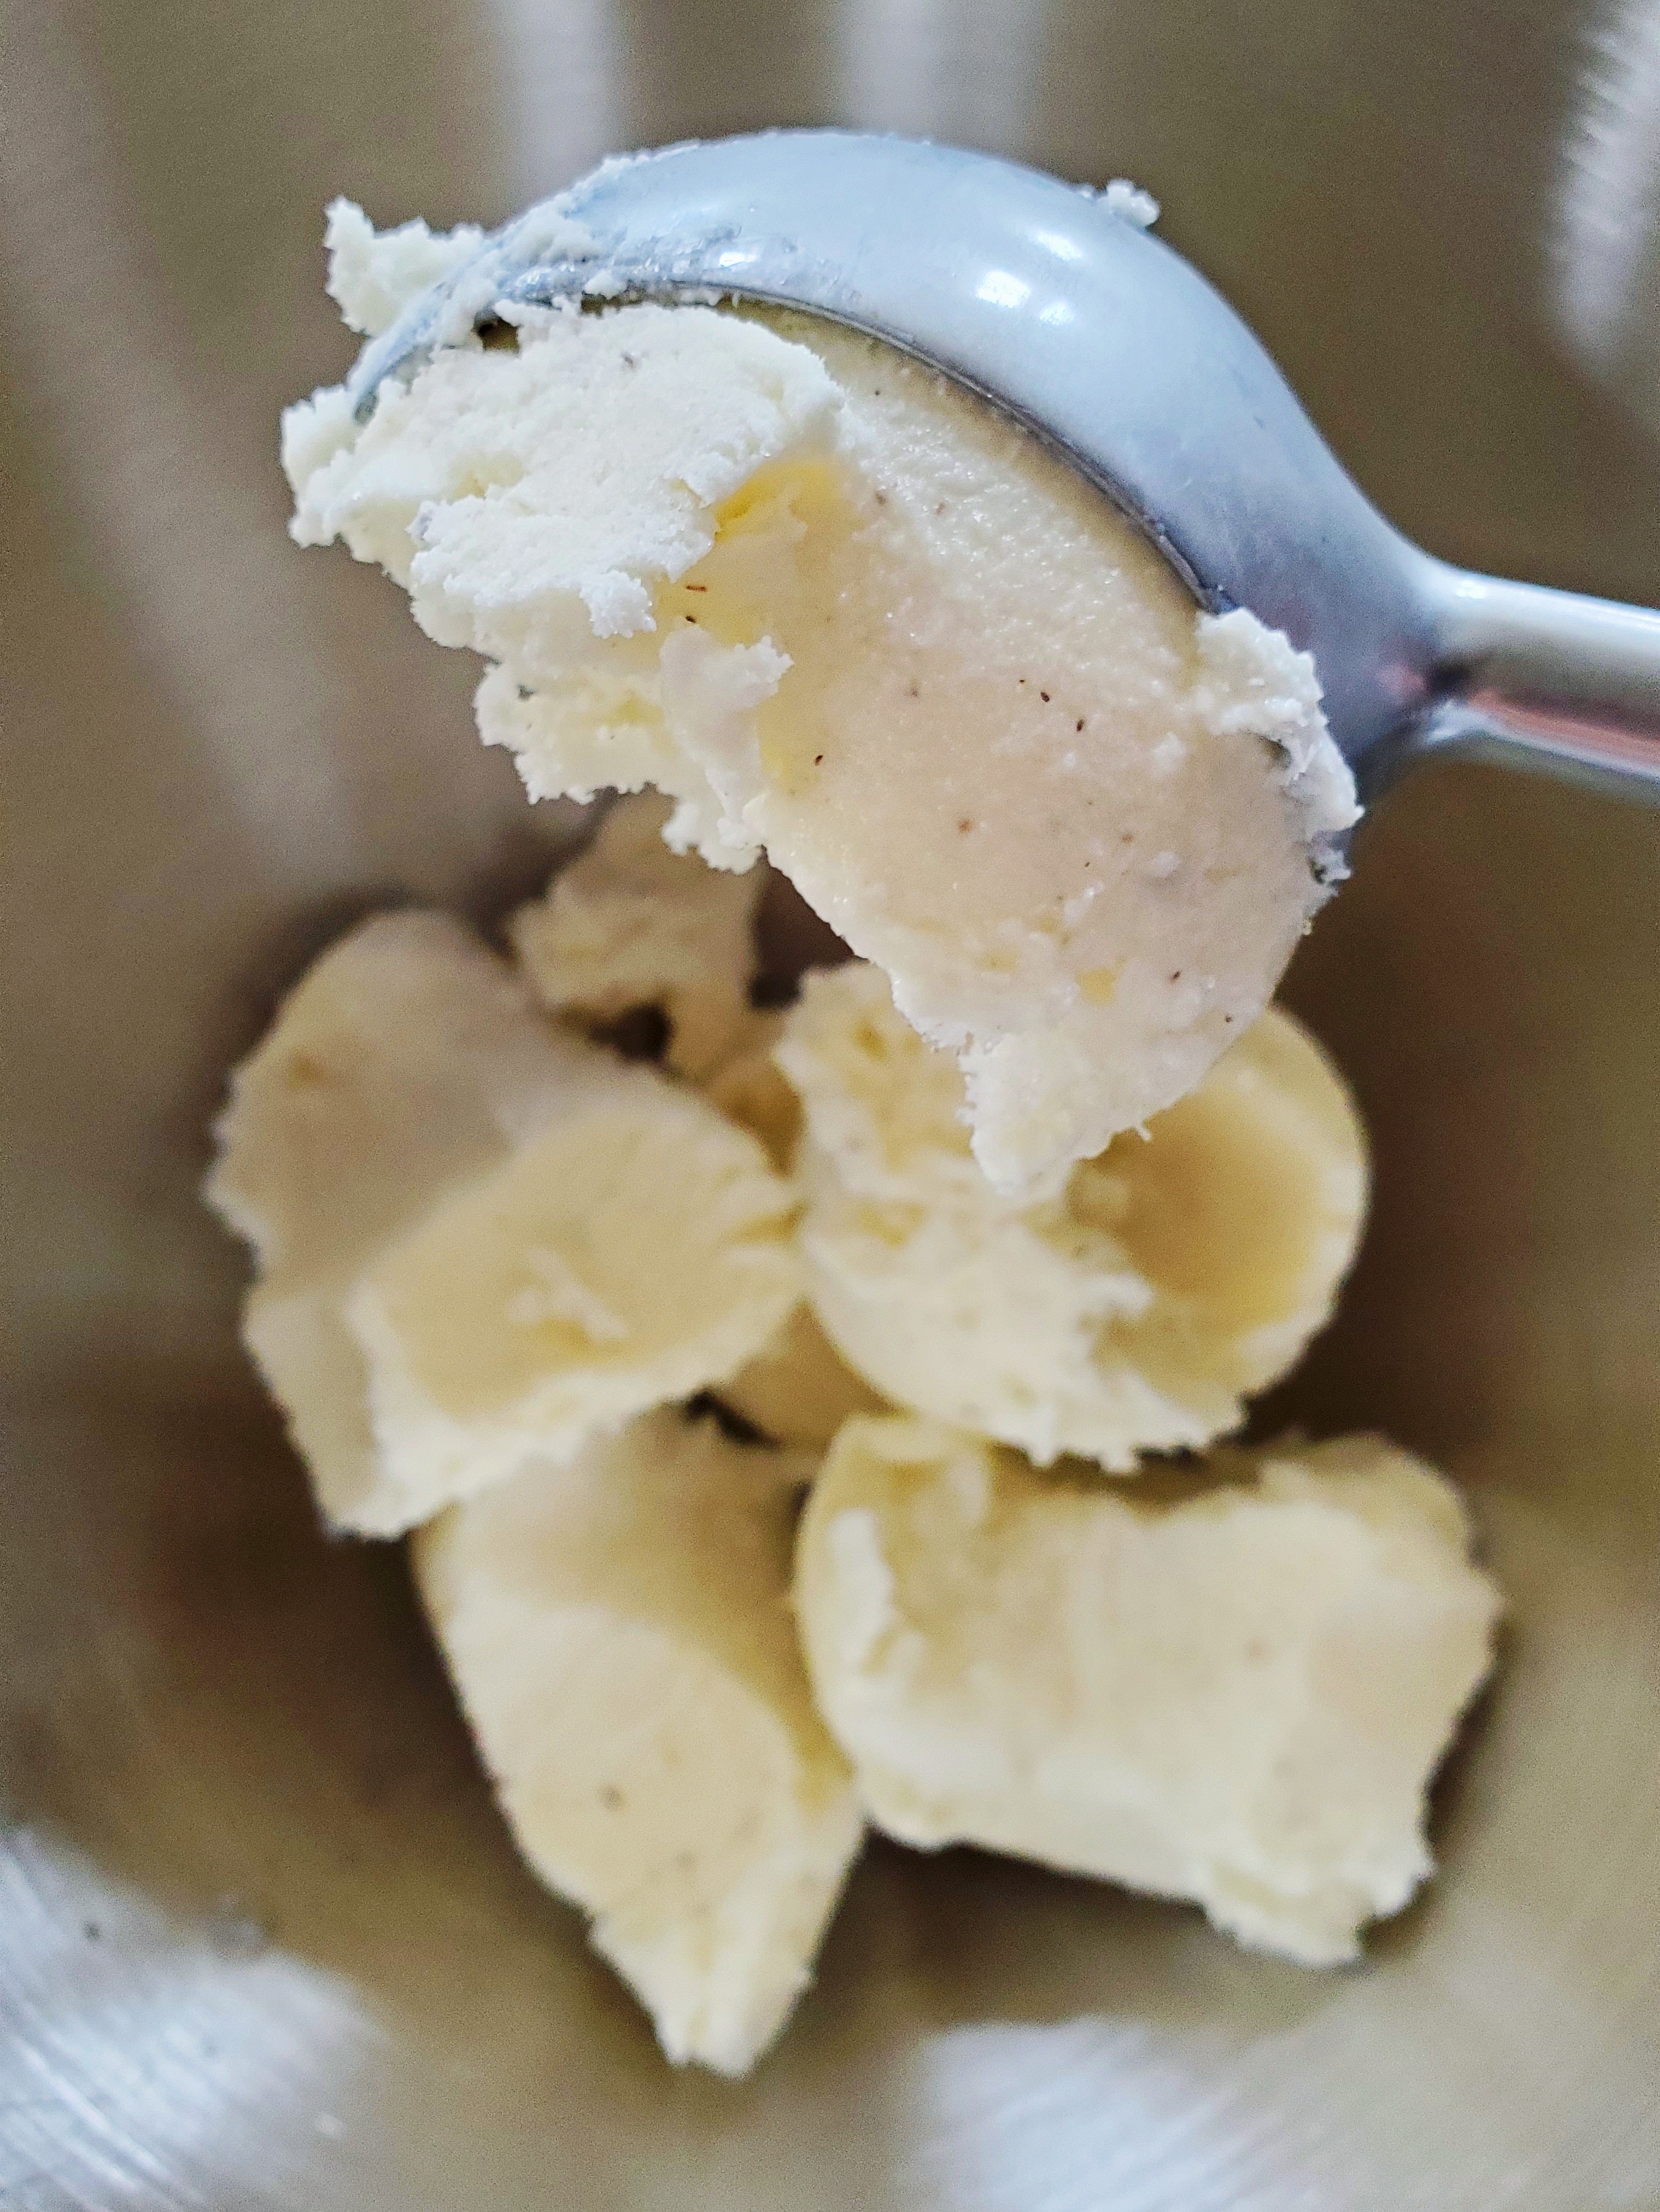
6 scoops vanilla ice cream
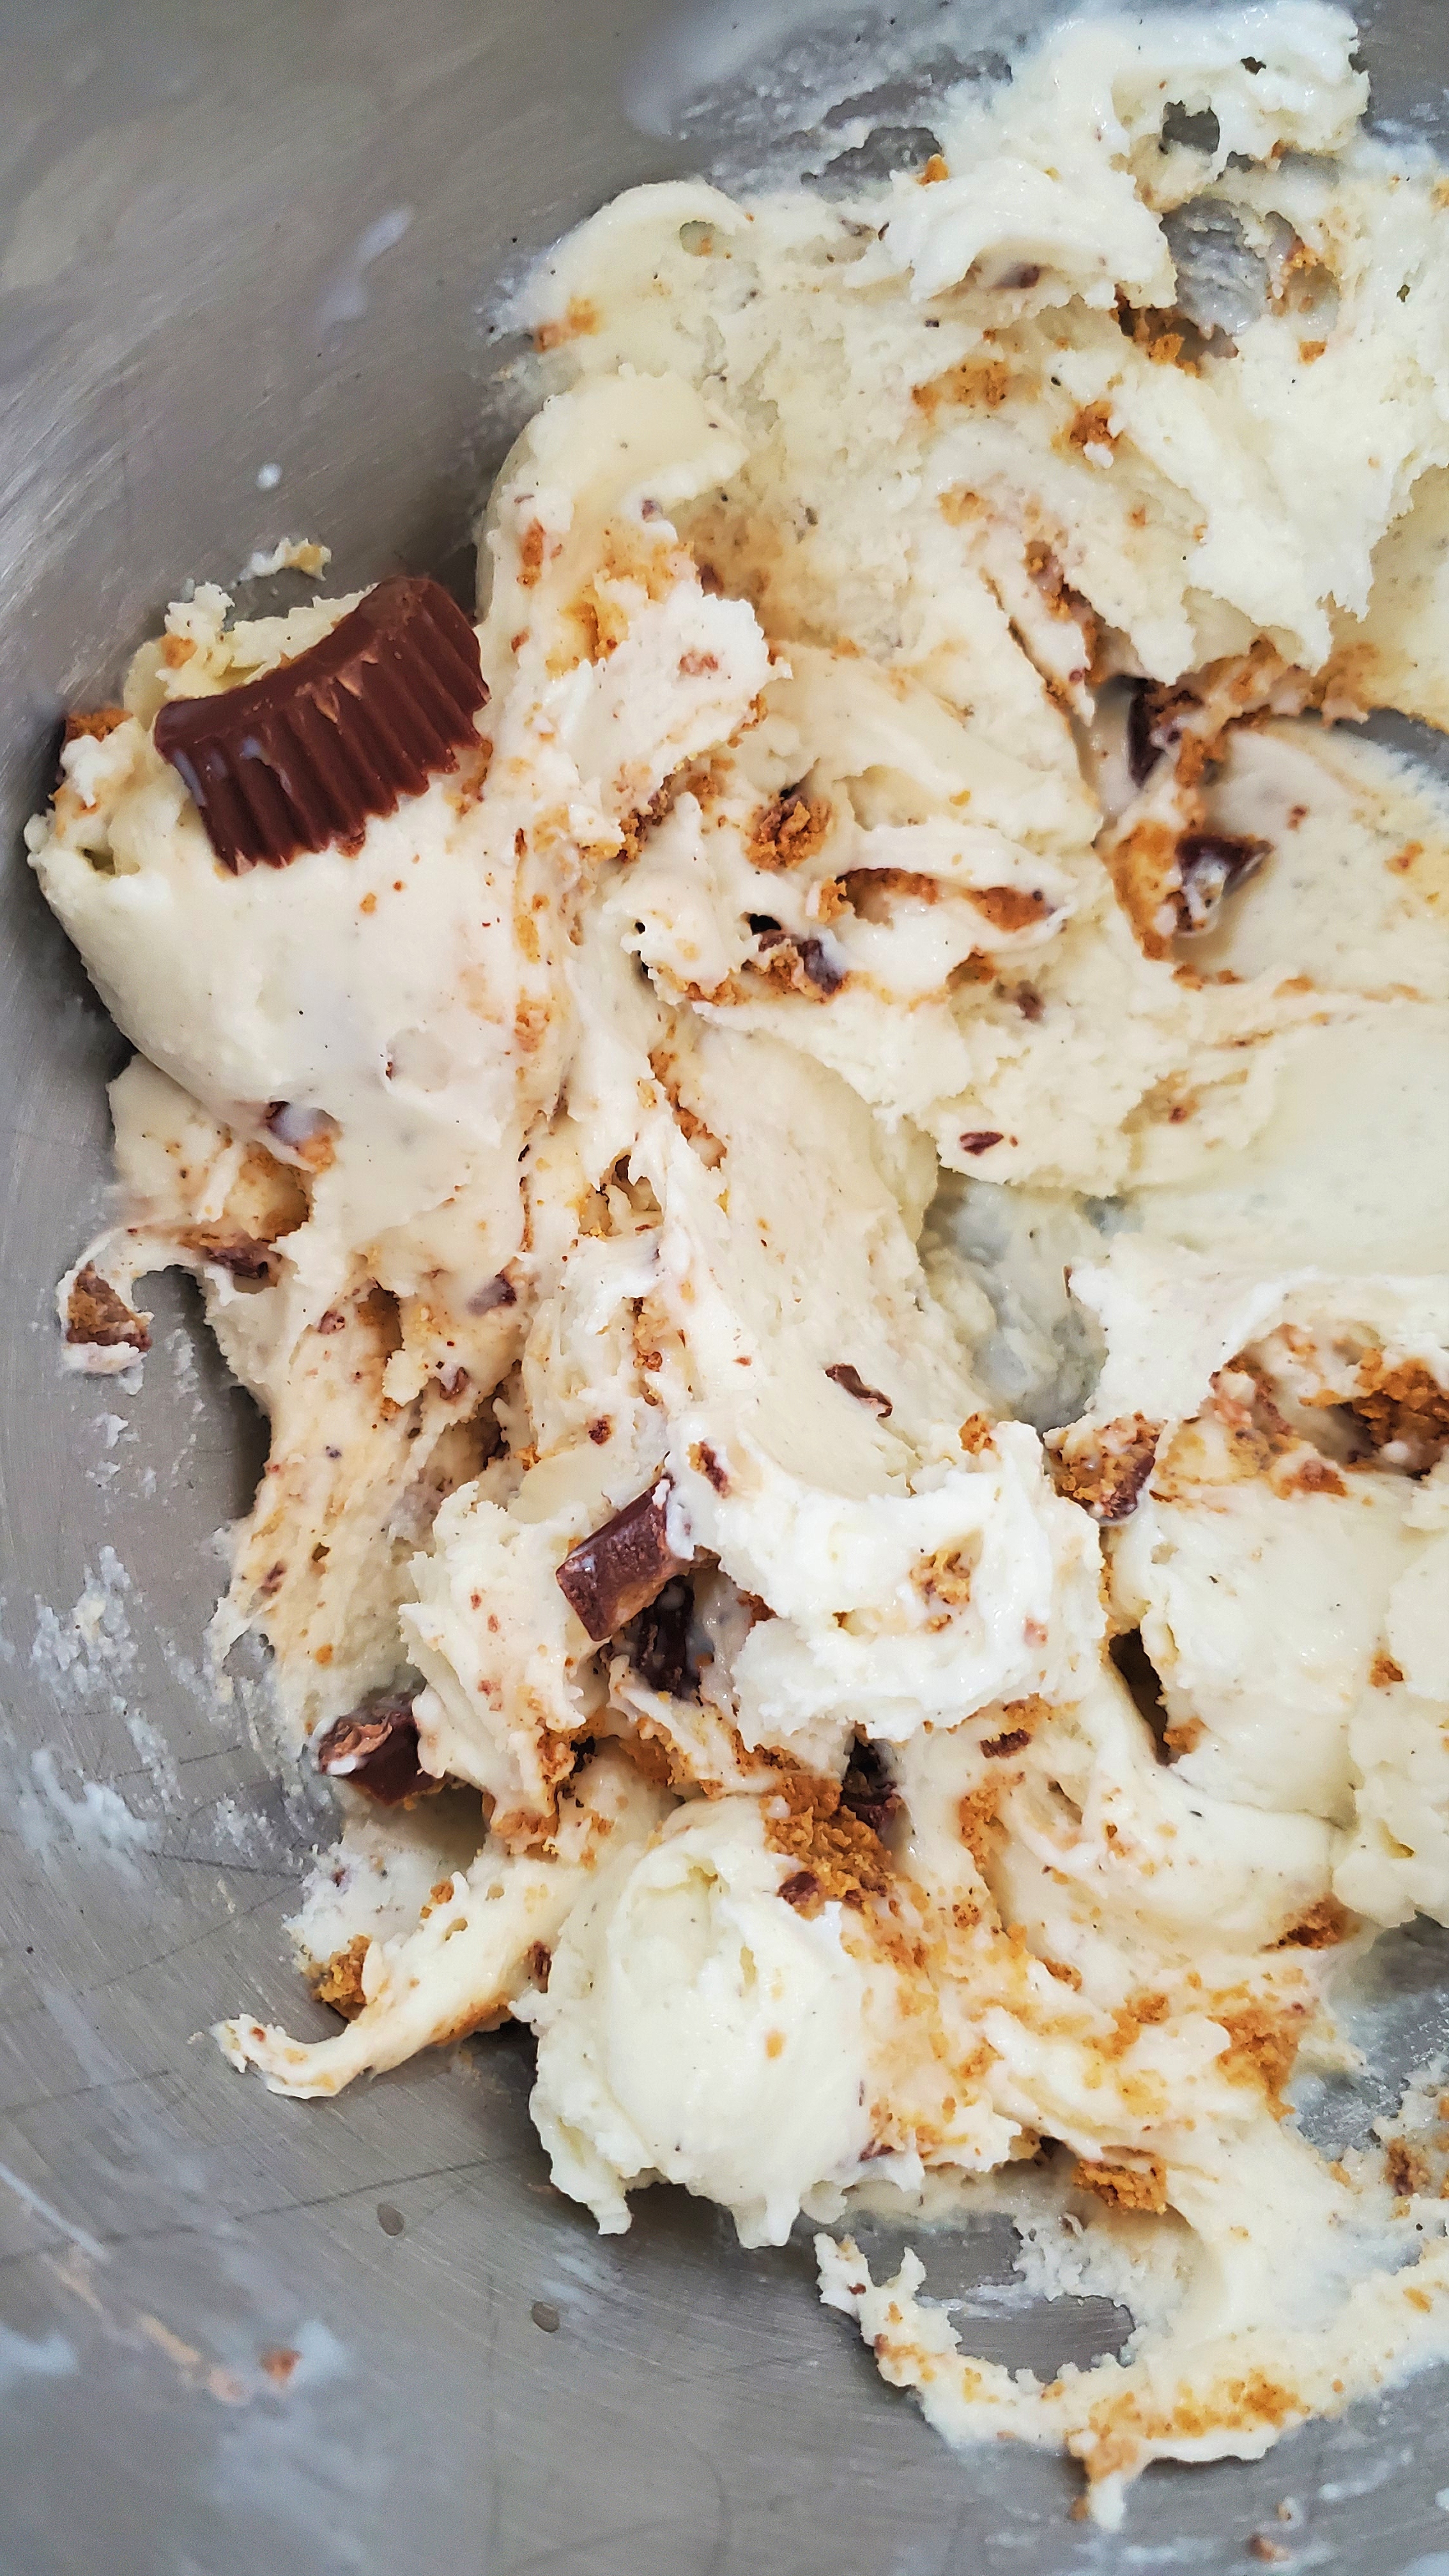
1/3 C your favorite treat to mix in (we prefer Reese’s Peanut Butter Cups)
Place the bowl of your stand mixer in the freezer for at least 10 minutes before using.
Scoop ice cream into the cold bowl of the stand mixer and affix the paddle attachment. Beat the ice cream on medium speed until it just begins to loosen and become creamy, about a minute. Scrape down the sides of the bowl with a spatula as needed.
Add your mix-in treats and beat on low speed just a few times until mix-ins are mixed evenly throughout the ice cream. No need to break them up first; the paddle will do the hard work!
Be careful not to overmix or it will become too loose and more like a milkshake. It’s better to err on the side of leaving the ice cream too thick, because just like authentic Blizzards, it will thin out as it melts.


