For this week’s Dessert Friday, we’re going BIG! You’ve probably seen these crowd-stopping celebration cakes all over the internet. Let’s make a Rainbow Explosion Cake!

Made popular by Flour Shop in New York City, this cake is six layers of vibrant colorful vanilla sponge hollowed out and filled with colorful candies that pour out when the cake is cut open. It’s possible to order a kit directly from Flour Shop or Williams Sonoma to make this yourself. However, with decent vanilla sponge and cream cheese frosting recipes, along with some bright and vibrant gel food colors, this cake is pretty easy – and much more affordable – to make from scratch! All it takes is a little patience.


A few tips before starting
- In addition to 6-inch cake pans, you’ll need a few specialized baker’s tools for this cake: one 6-inch cardboard cake round, (6) parchment paper rounds for inside your cake pans, (3) cake dowels, and an offset spatula
- Use gel food coloring. The gel colors are much brighter and more vibrant than the liquid ones. We prefer the Wilton brand.
- You do not have to bake all cake layers at one time, so it’s okay if you don’t have six separate cake pans (we only have three.) Simply wash and reuse your pan(s), and bake your layers in batches.
- We know how tempting cakes fresh out of the oven can be, but take the time to let them cool properly! It’s an important part of stacking the six layers successfully.
Our Favorite Vanilla Sponge Cake
(Original recipe: Tasty)
3 C cake flour
1 TBSP baking powder
1 tsp salt
1-1/2 C butter, room temperature
2 C granulated sugar (we use super-fine baker’s sugar)
5 large eggs, room temperature
2 tsp vanilla extract
1-1/2 C milk, slightly warmed in the microwave
Gel food coloring: red, orange, yellow, green, blue, violet
3 C your choice of colorful candies (M&Ms, Skittles, Reese’s Pieces, etc)


Preheat the oven to 350°F.
In a medium bowl, whisk together the flour, baking powder, and salt. Set aside.
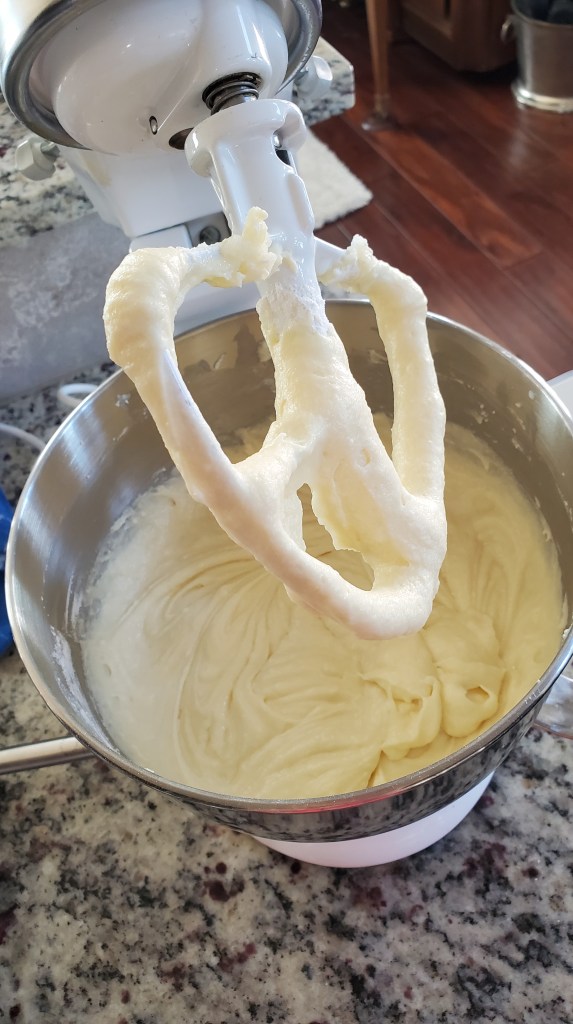
In a large bowl, cream the butter and sugar with an electric hand mixer on medium speed until soft, light, and creamy, 5–6 minutes. You want it to look like whipped buttercream. Scrape down the sides of the bowl. Add the eggs, one at a time, beating between each addition and scraping down the sides of the bowl as needed until well incorporated. Add the vanilla and beat to incorporate.
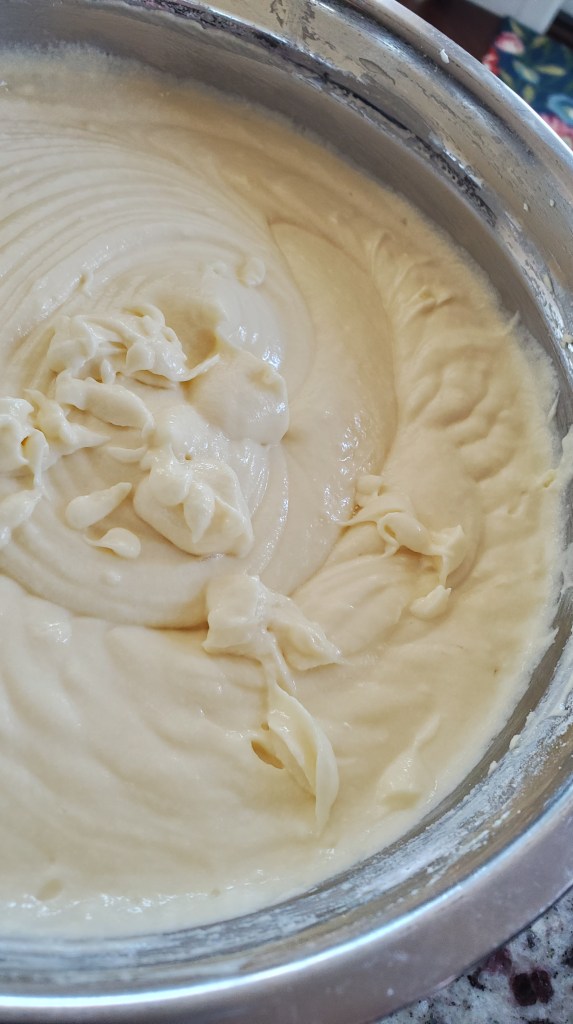
Alternate adding the milk and dry ingredients a little at a time, starting and ending with the flour. Beat until just mixed, scraping down the sides of the bowl between additions. Be careful not to overmix.
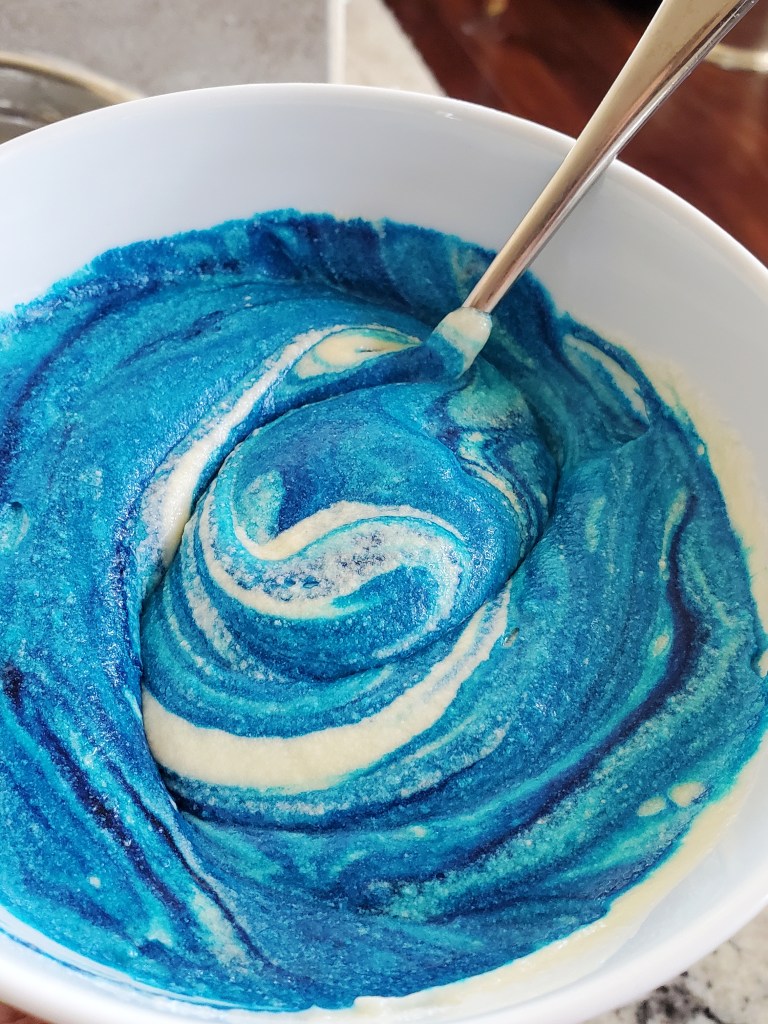
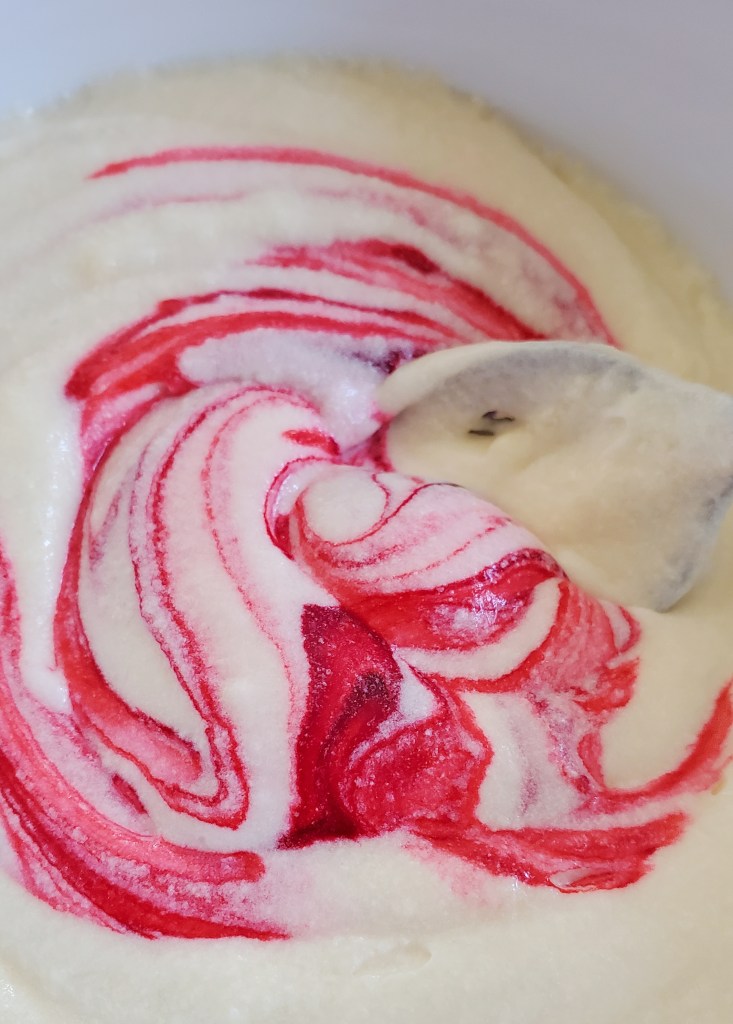
Evenly divide the batter between 6 small bowls (a little over 1 cup each). Dye each bowl with one color of food coloring. Stir only until the color is uniform; be careful not to overmix the batter, or it will be dense.
Grease six 6-inch round cake pans with butter (see note below). Add a round of parchment paper to the bottom. Pour each color cake batter into each prepared baking pan, tapping the pans on the counter to release any air bubbles. Bake for 20-23 minutes, or until a toothpick inserted in the center of a cake comes out clean. Remove the cakes from the oven and let cool in the pans for 15 minutes, then flip onto a wire rack and let cool for another 15 minutes.
While your cakes are cooling, make your Cream Cheese Frosting…


Cream Cheese Frosting
(Original recipe: Allrecipes)
16-oz cream cheese, room temperature
1/2 C butter, room temperature
2 C sifted confectioners’ sugar
1 tsp vanilla extract
In a medium bowl, cream together the cream cheese and butter until creamy. Mix in the vanilla, then gradually stir in the confectioners’ sugar.
Assembling Your Rainbow Explosion Cake
Once cake layers are completely cooled and frosting is made, use a 2-inch round cookie/biscuit cutter to remove the centers from each cake layer, except the red cake.
Secure a 6-inch cardboard cake round to a turntable with a dab of frosting. Place the purple cake on top of the board. Spread buttercream around the top, and place the blue cake on top of it. Repeat with the green, yellow, and orange cakes.
Fill the center cavity of the cake with your choice of colorful candies (we recommend M&Ms!) Once filled, top the whole thing with the red cake, and insert your (3) dowels to secure the cake from leaning.
If you’re paying close attention, you’ll notice that we screwed up our first cake in the photos. GASP! First, we assembled the colors upside down. OOPS! And then, we accidentally cut a hole out of our top layer. D’OH! If you make the same mistake, simply replace the cake center, nestling it back into the middle of the top cake layer. Once it’s frosted, no one will know! SSHHH!
Use an offset spatula to lightly frost the entire cake with a thin crumb coat. Transfer the cake to the freezer to firm up, about 15 minutes. Remove the cake from the freezer and evenly frost the entire cake with a thick layer of the remaining frosting.
To decorate the outside of the cake, coat the frosting with multicolored sprinkles and/or the same candies you’ve hidden inside!


RECOMMENDATION: This is an excellent recipe to make with kids! Here at Mainstay, we’ve held cooking classes in which we make this cake with kids. They especially love the bright colors, the candies, and revealing the surprise inside the final product. It’s a great way to encourage a love of cooking and food in your young ones!

